Contents
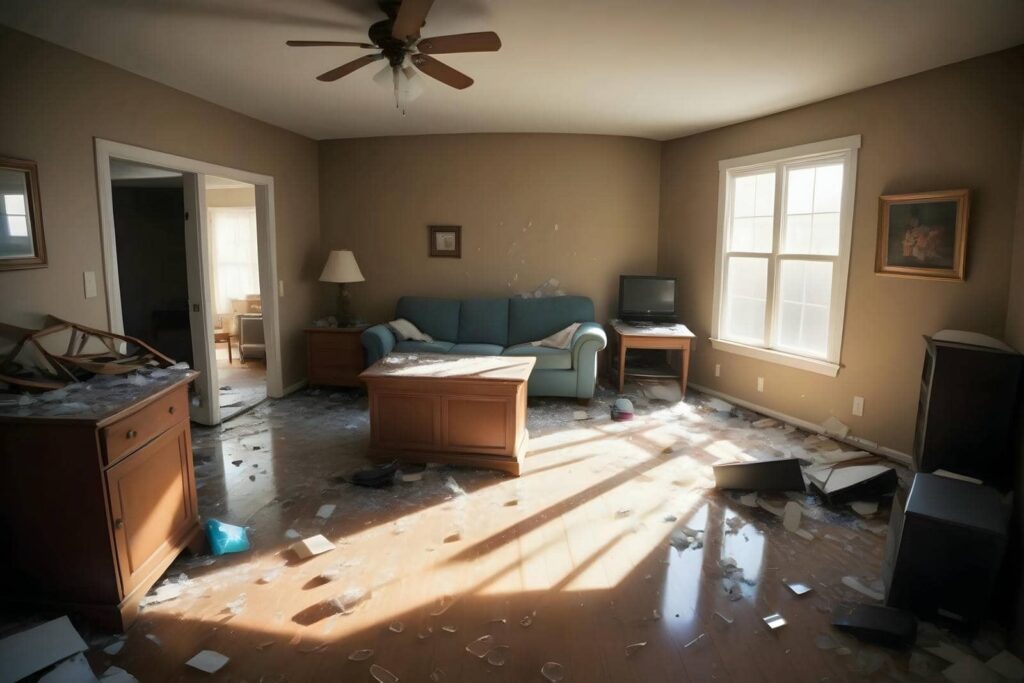
When facing the aftermath of a flood, it’s essential to approach the residential flood repair process methodically. You’ll start by evaluating the damage to document everything for insurance purposes. Next, water extraction becomes your priority to prevent further issues. Finally, you’ll need to focus on preventing mold growth to protect your home and health. Understanding each step can greatly impact the effectiveness of your restoration efforts. Let’s explore these vital steps further.
Key Takeaways
- Assess the damage by inspecting for water intrusion, documenting with photos, and checking for structural issues or mold growth.
- Remove standing water promptly using a wet/dry vacuum or submersible pump to prevent further damage.
- Implement moisture control measures, including dehumidifiers and ventilation, to prevent mold growth after water extraction.
- Repair structural elements, replace damaged materials, and ensure all work meets safety and quality standards during the restoration process.
- Communicate effectively with your insurance adjuster, submitting all necessary documentation for a smoother claims process.
Assessing the Damage
When flooding occurs, evaluating the damage is vital to determine the extent of repairs needed. Start by carefully inspecting your home, looking for signs of water intrusion in walls, floors, and personal property.
Document everything with photos and notes; this detailed damage evaluation will be essential for your insurance claims process.
Check for structural issues, mold growth, and electrical hazards, as these can pose serious risks. Don’t rush; take your time to ensure no detail is overlooked.
Gather all relevant documents, including your insurance policy, to understand your coverage and what’s needed for your claims.
Engaging with your insurance adjuster early can facilitate smoother communication and expedite your claim.
Water Extraction and Drying
After evaluating the damage, the next step involves promptly removing standing water and moisture from your home. Effective water removal is vital to prevent further deterioration and mold growth.
Start by using a wet/dry vacuum or a submersible pump to extract any remaining water. Make sure you tackle hidden areas like under cabinets and behind walls, as moisture can linger there.
Once you’ve removed the bulk of the water, it’s important to implement moisture control measures. Set up fans and dehumidifiers throughout the affected areas to facilitate drying. Open windows if the weather permits, as fresh air circulation can greatly aid in the drying process.
Regularly check the moisture levels with a hygrometer to confirm you’re on track.
Restoration and Repair
Restoration and repair are crucial to returning your home to its pre-flood condition. Start by evaluating the damage thoroughly; this will help you file accurate insurance claims. Document everything—photos and detailed descriptions are essential for a smooth claims process.
Next, focus on mold prevention. Even after water extraction, moisture can linger, leading to mold growth. Use dehumidifiers and ensure proper ventilation. Replace any saturated materials, like drywall and insulation, to prevent mold from taking root.
Once you’ve secured your insurance coverage and mitigated mold risks, it’s time to restore your home. This includes repairing structural elements, repainting walls, and replacing flooring.
Engage professionals if necessary—they’ll bring expertise and confirm the job is done right.
Frequently Asked Questions
How Do I Know if My Home Is at Risk for Flooding?
To determine if your home is at risk for flooding, check local flood zone maps and conduct a risk assessment. Understanding your area’s history and drainage patterns can help you make informed decisions for your safety.
What Insurance Covers Residential Flood Damage?
When you navigate the waters of insurance, flood insurance is your lifeboat. It offers essential policy coverage for residential flood damage, ensuring you’re not adrift amidst the aftermath and can rebuild your cherished home.
Can I Prevent Mold After a Flood?
You can prevent mold after a flood by employing effective mold prevention techniques during flood cleanup methods. Act quickly, remove excess moisture, and ensure proper ventilation to protect your home and maintain a healthy environment.
How Long Does the Flood Repair Process Typically Take?
Flood repair timelines can feel like an eternity, but restoration duration typically ranges from a few days to several weeks, depending on damage severity. Staying informed and proactive helps you navigate the process more smoothly.
Should I Hire Professionals or Do It Myself?
You should weigh your skills against the job’s complexity. DIY tips might save money, but professional services ensure thoroughness and safety. Trust your instincts; it’s about what feels right for your situation and peace of mind.
Recap
Addressing flood damage promptly is essential. By carefully evaluating the damage, efficiently extracting water, and preventing mold growth, you can greatly reduce the risk of long-term issues. Remember, each step plays a significant role in restoring your home and protecting your health. Stay proactive, and don’t hesitate to reach out for professional help when needed—your safety and peace of mind are worth it.
Recent Posts
Essential Tips for Sewage Cleanup and Restoration
When faced with the unfortunate situation of a sewage incident, it’s vital to approach the
Proven Techniques for Post-Flood Mold Removal
After a flood, dealing with mold requires a structured approach. You’ll need to assess the
10 Effective Mold Removal Techniques After Flooding
Many believe that simply drying out a space after flooding is enough to prevent mold