Contents
When tackling residential mold remediation, it’s essential to understand the specific conditions that promote mold growth. You’ll need to identify signs of an infestation promptly and take necessary safety precautions. Effective containment strategies are critical to prevent spore spread during the cleanup process. With the right techniques and methods, you can ensure thorough mold removal and long-term prevention. But what comes after the initial remediation? Let’s explore the next steps in this fundamental process.
Key Takeaways
- Identify and address moisture sources to prevent mold growth, such as leaks and high humidity levels.
- Use personal protective equipment (PPE) like N95 respirators and gloves during the remediation process.
- Contain contaminated areas with physical barriers and create negative air pressure to avoid cross-contamination.
- Apply effective mold-killing solutions and thoroughly clean affected surfaces to eliminate mold colonies.
- Regularly inspect and maintain your home to catch and address mold issues early.
Understanding Mold Growth Conditions
While you may not notice it at first, mold thrives in specific conditions that can quickly lead to a serious infestation. Understanding the mold lifecycle is essential; it begins with spores that require moisture sources to germinate. These moisture sources often come from leaks, high humidity, or condensation in your home.
If you maintain humidity levels above 60%, you create an environment conducive to mold growth.
Once conditions are right, mold spores can grow into colonies within 24 to 48 hours. To prevent this, identify potential moisture sources early—check for plumbing leaks, inspect areas like basements and bathrooms, and ensure proper ventilation.
Your awareness and proactive measures can greatly reduce the risk of mold infestation. By understanding these growth conditions, you’ll protect your home and foster a healthier living environment for everyone.
Identifying Signs of Mold Infestation
As you inspect your home for potential mold issues, recognizing the signs of infestation becomes essential to safeguarding your living environment.
Start by looking for visible mold growth, which can appear as black, green, or white patches. Different mold types, such as Aspergillus or Stachybotrys, may have distinct colors and textures.
Pay attention to musty odors; they often indicate hidden mold in walls or ceilings.
Next, observe any signs of water damage, like stains or discoloration, as these can create favorable conditions for mold growth.
Additionally, monitor your health for symptoms like respiratory issues, headaches, and skin irritation, which can be linked to mold exposure.
Safety Precautions for Mold Remediation
Once you’ve identified signs of mold infestation, it’s important to prioritize safety during the remediation process.
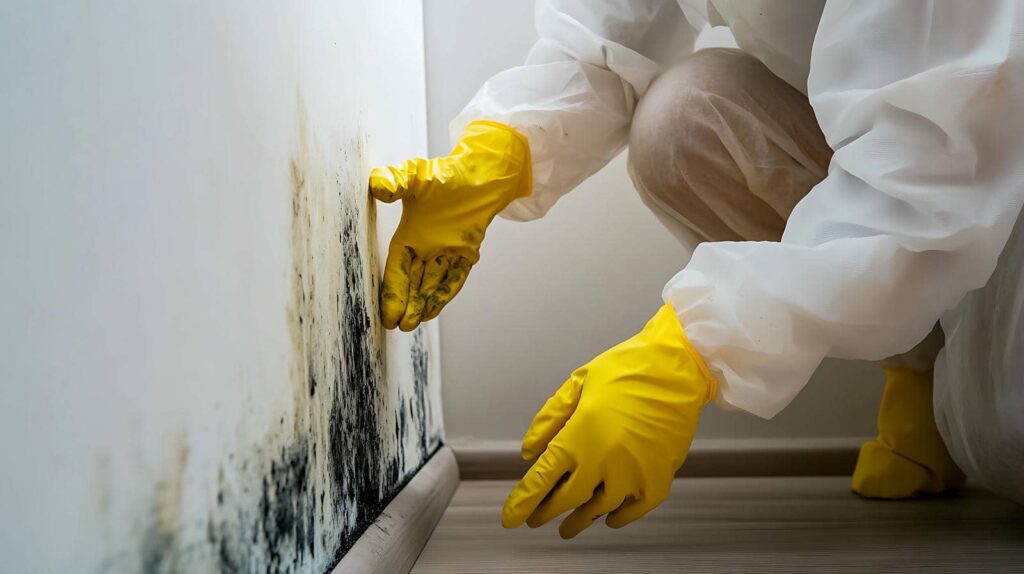
Start by donning appropriate personal protective equipment (PPE), including N95 respirators, gloves, and protective eyewear. This gear shields you from inhaling spores and contacting mold directly. Make sure you wear long sleeves and pants to minimize skin exposure.
Next, prepare for safe disposal of contaminated materials. Seal any affected items, like drywall or insulation, in heavy-duty plastic bags before removing them from your home. Label these bags clearly to prevent accidental opening.
It’s essential to work in well-ventilated areas, using fans to circulate air while avoiding cross-contamination.
If possible, designate a specific entry and exit point to limit the spread of spores.
Containment Strategies to Prevent Spread
To effectively contain mold during remediation, you’ll need to establish physical barriers that prevent spores from migrating to unaffected areas.
Start by sealing off the contaminated zone with containment barriers, such as heavy-duty plastic sheeting. Ascertain the barriers extend from floor to ceiling and are securely taped to the surfaces. This minimizes air movement and keeps mold spores contained.
Next, create negative air pressure within the contaminated area. Use a high-efficiency particulate air (HEPA) filter fan to draw air out, preventing spores from escaping into the rest of your home.
Always monitor air quality with a particle counter, ascertaining the effectiveness of your containment strategies.
Finally, limit access to the contaminated space. Inform everyone involved about the importance of these practices.
Effective Cleaning Techniques for Mold Removal
While mold can be stubborn and pervasive, employing effective cleaning techniques is crucial for successful removal. Start by identifying the affected areas and gathering your tools. Use mold-killing solutions like vinegar, hydrogen peroxide, or commercial products specifically designed for mold removal. Make sure you’re wearing protective gear, such as gloves and a mask.
For surface cleaning methods, consider the following:
| Cleaning Solution | Application Method | Effectiveness |
|---|---|---|
| Vinegar | Spray and wipe | Kills most mold types |
| Hydrogen Peroxide | Apply and scrub | Disinfects surfaces |
| Commercial Cleaners | Follow the manufacturer’s instructions | Targeted removal |
After application, scrub the surface clean and make sure that the area is well-ventilated. This methodical approach helps eliminate mold and minimizes the risk of recurrence, fostering a healthier living environment for you and your family.
Drying and Dehumidification Methods
To effectively combat mold growth, you must prioritize efficient drying techniques and proper dehumidification.
Selecting the right dehumidifier is essential to maintaining ideal humidity levels in your home.
Effective Drying Techniques
Effective drying techniques play an essential role in mold remediation, as they help eliminate moisture that fosters mold growth.
To achieve effective moisture control, start by enhancing air circulation in affected areas. Open windows and doors to facilitate fresh air flow, and use fans to direct airflow toward damp surfaces. Consider placing fans at strategic angles to maximize ventilation.
In addition, utilize high-velocity air movers to expedite the drying process, ensuring all surfaces, including walls and floors, dry thoroughly.
Monitor humidity levels with a hygrometer, aiming for a relative humidity below 60%. This proactive approach curtails mold growth while promoting a healthier living environment, ensuring you and your loved ones can enjoy a safe, mold-free home.
Dehumidifier Selection Tips
Choosing the right dehumidifier is essential for effective mold remediation and moisture control in your home.
Consider these tips to select the best option:
Dehumidifier Types: Identify whether you need a refrigerant or desiccant dehumidifier based on your space and climate.
Capacity: Match the unit’s capacity to your room size; aim for 30-50 pints for smaller areas and 70 pints for larger basements.
Energy Efficiency: Look for Energy Star-rated models to minimize electricity costs while maximizing performance.
Maintenance Needs: Choose a model with a continuous drain option to simplify upkeep and improve efficiency.
Post-Remediation Inspection and Testing
Once the mold remediation process is complete, conducting a thorough post-remediation inspection and testing is essential to affirm that the environment is safe and free from residual contamination. Implementing effective inspection protocols ensures you don’t overlook any hidden mold issues. Mold testing should be part of this final step to assess the air quality and surface conditions.
| Inspection Aspect | Details | Importance |
|---|---|---|
| Visual Inspection | Check for visible mold | Identifies obvious issues |
| Air Quality Testing | Conduct air samples | Assesses airborne spores |
| Surface Testing | Test surfaces for mold | Detects hidden growth |
| Humidity Levels | Measure moisture levels | Prevents future growth |
| Documentation | Record findings | Tracks remediation success |
Following these steps will help affirm a mold-free environment, fostering a sense of safety and belonging in your home.
Preventative Measures to Avoid Future Mold Issues
While it’s essential to address mold issues promptly, taking proactive steps can greatly reduce the risk of future growth.
Implementing effective preventative measures ensures your home remains a safe space for you and your family. Here are four strategies to take into account:
Utilize mold-resistant materials: When renovating, opt for paints and drywall specifically designed to resist mold growth.
Control humidity levels: Maintain indoor humidity between 30-60% using dehumidifiers or air conditioners, especially in damp areas like basements and bathrooms.
Improve ventilation: Ensure proper airflow in your home by using exhaust fans in kitchens and bathrooms, and keeping vents unobstructed.
Regular inspections: Frequently check potential problem areas, such as under sinks and around windows, for signs of moisture or mold.
Frequently Asked Questions
How Long Does the Mold Remediation Process Typically Take?
The mold remediation timeline typically ranges from one to several days, depending on the extent of mold growth. Factors like area size, severity, and necessary repairs can influence how long the entire process takes.
Can I Stay in My Home During Mold Remediation?
Imagine a ship maneuvering through stormy seas; staying onboard during mold remediation can be risky. Prioritize safety precautions, and consider temporary relocation while professionals address the issue. Your well-being is essential for smooth sailing ahead.
What Types of Mold Are Most Common in Homes?
You’ll encounter several common molds in homes, including black mold, which can be toxic. Other prevalent types are Aspergillus and Cladosporium. Understanding these molds helps you address potential health risks effectively and maintain a safe environment.
How Much Does Professional Mold Remediation Cost?
Professional mold remediation costs typically range from $500 to $6,000, depending on severity. Mold inspection costs might add $200 to $1,000, while DIY remediation expenses can vary greatly based on materials and labor needed.
Does Homeowners Insurance Cover Mold Remediation Expenses?
Homeowners insurance may cover mold remediation expenses, but it depends on your policy. Review your insurance policy considerations carefully, and follow mold prevention tips to avoid future issues, ensuring you stay protected and informed.
Review
In the battle against mold, you’re the architect of a healthier home. By understanding growth conditions and swiftly identifying infestations, you lay the groundwork for effective remediation. With safety as your shield and strategic containment as your fortress, you can tackle the menace head-on. Remember, after the storm of removal, the real victory lies in proactive measures—like humidity control and regular inspections—to keep mold at bay, ensuring your sanctuary remains a mold-free haven.
Recent Posts
Top Tips for Storm Damage Restoration at Home
Many homeowners experience some form of storm damage. When faced with such unexpected challenges, it’s
What Are Top Tips for Sewage Cleanup?
Is it really possible to effectively manage a sewage cleanup without proper preparation? Many underestimate
Effective Strategies for Sewage Cleanup and Restoration
When dealing with sewage cleanup and restoration, it’s imperative to approach the situation methodically. You’ll