
Contents
To Stop Mold After Water Damage, you need to fix the moisture source first, then remove materials that stayed wet too long. You’ll want to dry structural framing quickly, replace soaked drywall and insulation when they cannot be safely restored, and repair any roof, pipe, or ceiling leaks. If moisture reached hidden cavities or attics, those areas need inspection too. The right repairs can help prevent a small moisture problem from turning into a larger mold issue.
Key Takeaways
- Fix the water source first by repairing roof, plumbing, window, or foundation leaks.
- Remove and replace mold-damaged drywall, insulation, baseboards, and other porous materials.
- Dry all wet materials within 24 to 48 hours using fans and dehumidifiers.
- Improve drainage and extend downspouts to keep water away from the structure.
- Use moisture control measures like exhaust fans, dehumidifiers, and good airflow to prevent regrowth.
Start With These Mold Repairs
Before you clean visible mold, fix the source of moisture so it doesn’t come back. You should inspect roofs, plumbing, windows, and foundations, then repair leaks, seal gaps, and replace failed caulk or flashing.
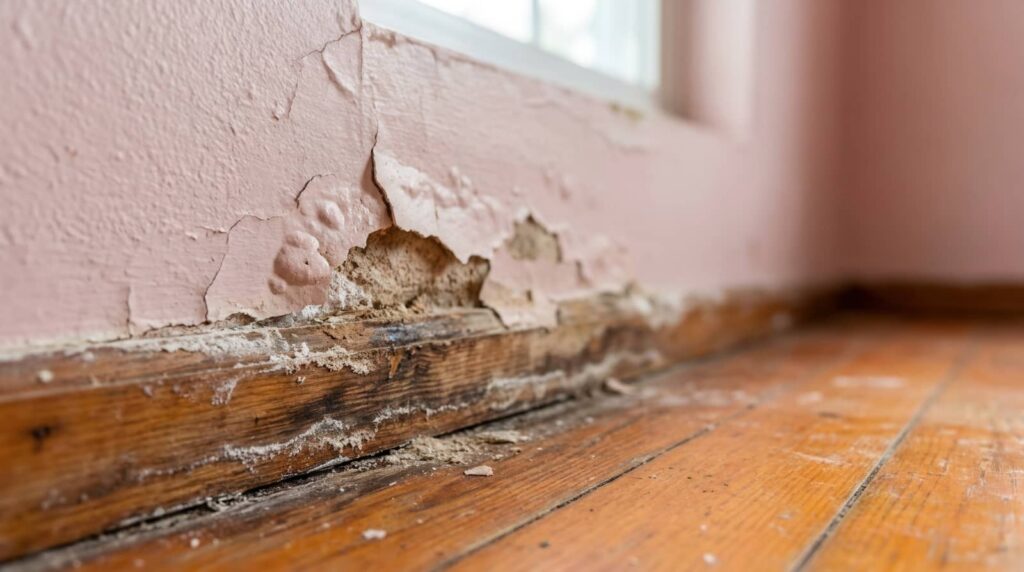
If water entered through damaged drywall, baseboards, or insulation, remove and replace those materials. Make sure you dry cavities, then restore vapor barriers and insulation where needed.
You can also improve drainage, extend downspouts, and regrade soil to protect the structure. These mold prevention strategies work best when you pair them with moisture control techniques like dehumidifiers, bathroom exhaust fans, and timely HVAC maintenance.
When you handle these repairs early, you protect your space, support healthier air, and help everyone in your home feel secure.
Dry Water-Damaged Materials Quickly
Dry water-damaged materials within 24 to 48 hours whenever possible, because mold can start growing fast in damp conditions.
You should move furniture, rugs, and other porous items into a dry zone, then set up dehumidifiers and fans to speed evaporation. Aim for steady air circulation across every wet surface, but don’t blast one area and miss the rest.
Keep doors and windows closed if outdoor air is humid, since humidity control matters more than outside comfort.
Remove standing water first, then check hidden spaces under cabinets, behind baseboards, and inside closets. If materials stay damp, mold can take hold fast.
Work as a team, stay organized, and track drying progress daily so you know when conditions are truly safe.
Replace Wet Drywall and Insulation
Once you’ve removed standing water and dried the area as much as possible, inspect drywall and insulation closely for damage.
If drywall feels soft, swells, stains, or crumbles, cut it out cleanly and replace it. Wet insulation usually loses performance and can trap mold, so remove all affected sections.
Match the replacement to the space and choose insulation types that suit the cavity, moisture exposure, and code requirements.
During drywall installation, use new fasteners, tape, and joint compound on intact framing only.
Check hidden areas behind baseboards and around outlets for dampness before closing the wall. You’re not just fixing a surface; you’re restoring a healthy room your household can trust.
Dispose of damaged materials promptly, and keep the workspace dry until repairs are complete.
Repair Ceiling Leak Damage
Trace the leak to its source and repair the roof, plumbing, or HVAC issue before you patch the ceiling.
Then remove any sagging or stained ceiling materials, and confirm the area is dry with a focused leak assessment.
You can cut back damaged edges cleanly so your repair bonds well and blends with the surrounding surface.
If the ceiling uses drywall, replace compromised sections with matching board; if it’s plaster, use compatible patch compounds.
Match texture and finish to keep the room looking consistent and to help your space feel cared for.
Keep tools clean, measure twice, and fasten each repair securely.
When you finish, watch for new moisture spots after the next rain or system cycle, so you know the fix holds.
Seal Framing Before Mold Spreads
After you remove wet finishes, inspect the framing for discoloration, softness, or a musty odor. Then seal any sound wood with a mold-inhibiting primer or encapsulant. You’ll slow mold prevention by locking in moisture-tolerant surfaces before spores can colonize damaged grain.
Clean dust and debris first, then apply sealing techniques with a brush or sprayer so every exposed edge, cut, and fastener head gets coverage. Let each coat dry fully, and don’t trap damp material under the sealer. If wood stays firm and dry, you can protect it without replacement.
Work section by section so your repairs stay organized and your crew can verify coverage. This approach keeps the structure serviceable, supports a safer rebuild, and helps you move forward with confidence and shared standards.
Fix Hidden Moisture in Attics
Check the attic for hidden moisture before you close up the structure, because damp insulation, stained sheathing, and condensation around vents can keep mold active long after the visible damage is gone.
You should trace every leak path, then dry the space with fans and controlled heat until framing and insulation read normal on a moisture meter.
Check attic ventilation so outside air can move through soffit and ridge openings without blockage.
If vapor drift from the living space is part of the problem, repair or replace moisture barriers at penetrations, bath fans, and recessed fixtures.
Replace soaked insulation that won’t dry evenly.
Seal roof leaks, then verify the attic stays dry after the next rain.
When you do this well, you protect the whole team.
Clean and Disinfect Moldy Surfaces
Once the hidden moisture is gone, clean and disinfect every moldy surface before you close the area back up. You should wear gloves, eye protection, and a respirator, then bag porous debris you can’t fully clean.
Scrub nonporous materials with detergent and water first, because dirt blocks disinfectants. After that, apply an approved antimicrobial as directed, giving it full contact time for effective surface treatment. Wipe away residue with clean cloths and dry the area completely.
For soft materials that still show staining, replace them instead of reusing them. Keep your crew aligned on the same mold prevention standards so no one skips steps.
A careful cleanup protects the space, supports your team, and helps you move forward with confidence.
Prevent Mold From Returning
To prevent mold from returning, you need to keep the repaired area dry and control future moisture sources. Inspect plumbing, roofing, and caulking regularly, and fix leaks right away.
Use dehumidifiers and exhaust fans to support humidity control, especially in bathrooms, kitchens, and basements. Keep indoor relative humidity below 60% if you can.
Replace porous finishes with mold resistant materials in any section that stays vulnerable, such as drywall, insulation, or carpet padding. After cleaning, verify that all framing, subfloors, and cavities are fully dry before closing them.
Maintain airflow with open vents and spaced furniture. When you monitor conditions together, you protect your home and help your household stay healthy, dry, and confidently in control.
Frequently Asked Questions
How Soon Should I Call a Professional After Water Damage?
You should call a professional immediately, ideally within 24 hours; your water damage timeline is tight, and emergency response can stop mold, structural damage, and odors before they spread through your space and disrupt your routine.
Can Mold Grow Behind Walls Without Visible Signs?
Yes, mold can grow behind walls without visible signs; it’s a silent storm. You should inspect for hidden moisture, musty odors, and warped surfaces. If you suspect mold growth, act fast and protect your home.
Is It Safe to Stay in a Mold-Damaged Home?
Not always. You shouldn’t stay if you smell mold, see damage, or feel symptoms; your mold safety depends on a professional home assessment. Until then, ventilate, limit exposure, and relocate vulnerable people.
What Health Symptoms Can Mold Exposure Cause?
You can develop coughing, wheezing, itchy eyes, headaches, skin irritation, and worsened respiratory issues from mold exposure. If you have mold allergies, you may also notice congestion, sneezing, and fatigue.
How Do I Know if Repairs Were Done Correctly?
You’ll know repairs were done correctly when you use a repair checklist and inspection tips: check for dry materials, sealed leaks, no odors, no staining, and moisture readings at normal levels.
Recap
To stop mold after water damage, you need to fix the moisture source first, then dry and replace damaged materials fast. If your drywall is soaked, cut it out; if insulation is wet, remove it. For example, after a roof leak, you should repair the roof, dry the attic, and seal exposed framing before mold spreads. Keep inspecting for hidden leaks, and use mold-resistant materials so you don’t fight the same problem again.
Recent Posts
Why Does Leak Water Damage Cause Mold?
Like a slow leak in a ship’s hull, water damage in your home keeps feeding
Ceiling Leak Water Damage Mold Repair Guide
You notice a ceiling stain the same day a drip starts, and that coincidence matters
Why Mold Remediation Matters After Flooding
When floodwater lingers, mold doesn’t wait. It can spread through wet drywall, saturated insulation, and