
Contents
When you find a ceiling leak, you need to act in a specific order to limit damage and restore the surface. First, you stop the source and dry the area. Then you clean stains and remove any mold-prone material before it spreads. After that, you repair the damaged ceiling section, finish the joints, and repaint for a consistent result. Each step affects the next, and missing one can complicate the rest.
Key Takeaways
- Stop the leak immediately by shutting off water, locating the source, and containing active drips.
- Use temporary fixes like tape, clamps, or a tarp to limit further ceiling damage.
- Clean stained areas promptly, wearing protection and drying surfaces thoroughly to prevent mold.
- Remove damaged ceiling material, patch with matching drywall or plaster, then sand and repaint.
- Inspect for hidden issues and seal problem areas to prevent future leaks after repairs.
How to Stop a Ceiling Leak
To stop a ceiling leak, you need to act fast and isolate the source if possible. You should shut off nearby water supplies, then inspect fixtures, pipes, and roofing penetrations to identify leak sources.
Use a flashlight and trace moisture paths from the wet spot to the entry point. If water is actively dripping, place a bucket under it and protect the floor with towels or plastic sheeting.
For temporary fixes, wrap a small pipe leak with waterproof repair tape or apply a clamp patch. If the leak comes from above, cover the exterior opening with a tarp until repairs start.
You’re not handling this alone; a careful, methodical response helps keep your space safer and supports the whole home team.
Clean Water Stains and Mold
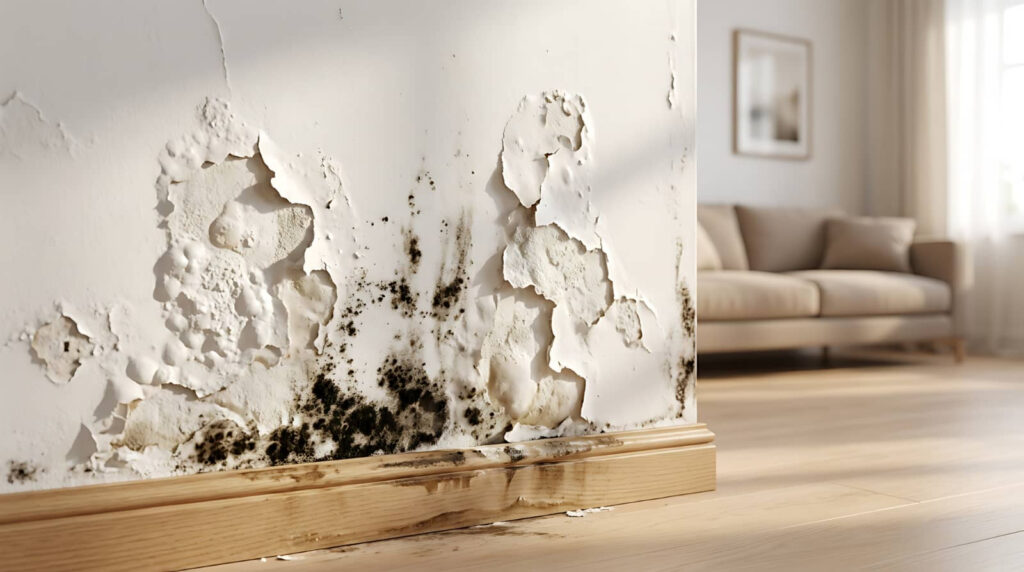
Once the leak is under control, clean the stained area right away so moisture doesn’t keep feeding mold growth.
Put on gloves and a mask, then inspect the surface for soft spots, dark specks, or a musty odor.
Mix warm water with a mild detergent, and wipe the stain with a clean cloth; don’t saturate drywall or plaster.
If you see mold, use a cleaner labeled for mold prevention and follow the contact time exactly.
Dry the area with fans and ventilation until it feels fully dry.
Document the water damage with photos so you can track progress and explain the issue clearly to your household.
If stains return or the material stays damp, call a professional for a closer assessment and safe remediation.
Repair the Ceiling and Prevent Leaks
After the ceiling is fully dry, cut out any damaged drywall or plaster and replace it with material that matches the existing thickness and finish.
You’ll fit each patch tight, tape joints, and apply compound in thin coats so the surface blends cleanly with the surrounding ceiling materials.
Then sand, prime, and repaint for a uniform result.
- Inspect framing for rot or corrosion.
- Check attic, roof, and pipe penetrations.
- Use leak detection to find the source.
- Seal gaps with compatible caulk or flashing.
- Test repairs after the next rain.
When you work methodically, you keep your space safe and your crew confident.
If the source isn’t clear, keep tracing moisture paths until you’ve stopped the leak at its origin.
Frequently Asked Questions
Can a Ceiling Leak Cause Electrical Hazards?
Yes, a ceiling leak can create electrical hazards if water reaches wiring or fixtures. You should take safety precautions, shut off power, and schedule an electrical inspection so you and your neighbors stay protected.
How Do I Find the Leak Source Quickly?
You’ll find the source fastest by tracing stain edges, then checking above for plumbing, roof, or HVAC lines. Use leak detection methods: moisture meter, thermal camera, dye tests. Inspect common leak sources methodically.
Should I Document Ceiling Damage for Insurance?
Yes—document it thoroughly; a picture’s worth a thousand words. You’ll strengthen your insurance claim with dated photos, videos, and a damage assessment. Note measurements, moisture readings, and affected materials so you’ll belong in the process.
When Is Professional Help Necessary?
You need professional help when you can’t isolate the source, leak detection shows hidden damage, or repair costs exceed simple fixes. You’ll protect your home, fit in with informed owners, and avoid costly mistakes.
How Long Does Ceiling Repair Usually Take?
You’ll usually need one to three days for standard ceiling repair timeframes, but drying, curing, and ceiling materials can extend it to a week. You’ll fit faster with minor patches, slower with structural damage.
Summary
You’ve traced the drip, scrubbed the stain, and patched the wound in the ceiling. In that small repair, you’ve also blocked a larger lesson: ignored leaks spread like neglected problems in life, quietly weakening what seems solid. So keep watch, act fast, and fix damage before it grows. When you seal the final coat and repaint the surface, you don’t just restore a room—you prove that careful maintenance keeps trouble from becoming collapse.
Recent Posts
5 Steps for Flood Water Recovery
When floodwater enters your space, you need to act in a strict sequence. Flood Water
How to Restore Water Damage After Flood
After a flood, you’re facing more than a little cleanup, and your first move is
7 Smoke Odor Removal Tips After Water Damage
Smoke odor after water damage can linger in places you’d never think to inspect first.