
Contents
When you’re dealing with Ceiling Leak Water Damage Repair, do you wait, or do you act before the damage spreads? You should stop the leak first, then protect the room with plastic and buckets. Next, inspect for sagging, staining, and soft drywall, and document what you find. Dry the area quickly with fans and dehumidifiers, then cut out damaged material and patch it properly. The real challenge comes next, when you have to keep mold from taking hold.
Key Takeaways
- Shut off the water source, move valuables, and place a bucket or sheeting under the leak.
- Inspect the ceiling for sagging, stains, bubbling paint, and other signs of water damage.
- Dry the area quickly with fans, open windows, and a dehumidifier to limit further damage.
- Cut out damaged drywall, patch the opening, tape seams, and finish with joint compound.
- Prevent mold by fully drying the area, keeping humidity low, and removing moldy porous materials.
Stop the Leak and Protect the Room
Before you do anything else, shut off the water source if the leak comes from plumbing, then move furniture, electronics, and valuables out of the drip zone.
Next, identify the leak by tracing moisture to the highest visible point and checking nearby pipes, fixtures, or roof penetrations. Use a flashlight and watch for active dripping so you can isolate the source quickly.
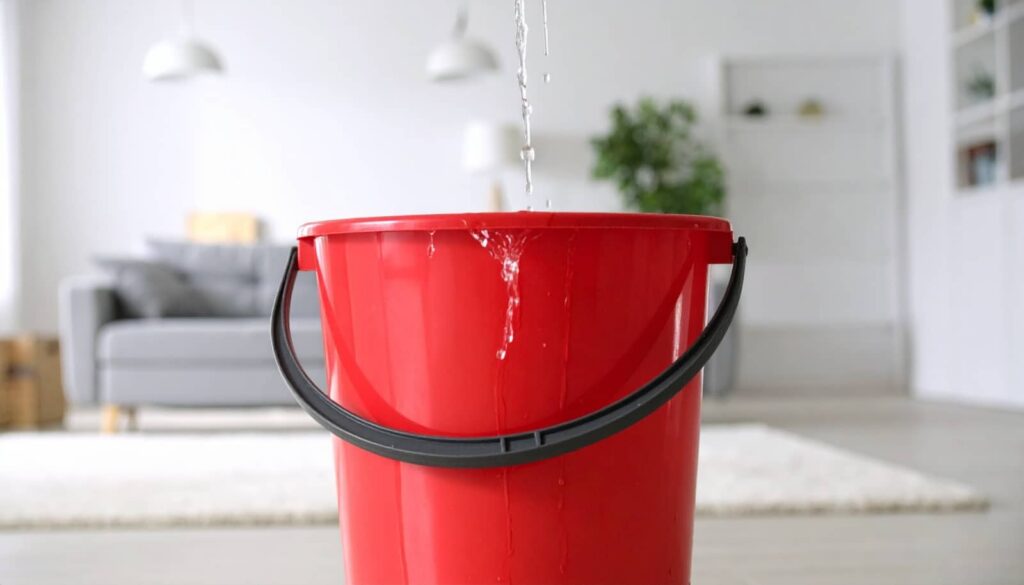
Place a bucket, tarp, or plastic sheeting under the leak to protect flooring and keep water from spreading. If water is pooling, dry the area with towels and a wet vacuum.
Keep people clear of wet ceiling material and any energized fixtures.
Then assess damage to determine whether the room needs immediate drying or professional help. Acting fast helps your home stay safer, and you’re not handling this alone.
Check the Ceiling Damage
Look closely at the ceiling for telltale signs of moisture damage, including sagging drywall, staining, bubbling paint, soft spots, or cracking along seams and fasteners.
During your ceiling inspection, map every affected area and note whether the damage stays local or spreads outward. Press gently with a dry hand to check for movement, but don’t force unstable material.
Compare wet and dry sections so you can judge the leak path and the likely extent of compromise. A careful damage assessment helps you decide if the ceiling needs patching, partial replacement, or a full tear-out.
Photograph each flaw, measure the stain boundaries, and record any odor, discoloration, or surface distortion. This gives you a shared baseline with contractors and helps you move forward with confidence together.
Dry the Ceiling Fast
Once you’ve confirmed the damaged area, move quickly to dry the ceiling so moisture doesn’t keep spreading into drywall, insulation, and framing.
Shut off the leak source, then open nearby windows if weather helps. Use fans to create steady air circulation across the damp surface, not just at it.
Position a dehumidifier usage setup in the room and keep doors closed so it can pull moisture from the air efficiently. If safe, remove ceiling fixtures that trap humidity around wet spots.
Check the ceiling often; it should feel cooler and less damp as drying progresses. You’re not just protecting materials—you’re protecting your space and everyone who counts on it.
Keep monitoring until moisture levels drop and the area feels stable.
Repair Water-Damaged Drywall
After the ceiling is dry to the touch and the moisture level has stabilized, inspect the drywall for soft spots, sagging, stains, and crumbling seams.
Use moisture assessment to confirm the area’s safe condition before you cut. Mark damaged sections, then remove any loose drywall back to solid edges with a utility knife.
If the opening is small, you can do drywall patching with a pre-cut piece; if it’s wider, install a backing strip and fasten a new panel.
Tape the joints, apply joint compound in thin coats, and sand between passes for a flat finish.
Match the texture and primer so the repair blends cleanly with the surrounding ceiling, helping your space feel whole again.
Prevent Mold After the Leak
Even a small ceiling leak can leave enough hidden moisture to trigger mold, so you’ll want to dry the area completely and control humidity as soon as the repair is done.
Run fans and a dehumidifier for 48 to 72 hours, and keep indoor humidity below 60%.
Check insulation, framing, and attic cavities with a moisture meter, because damp materials can stay wet after the surface feels dry.
Remove any porous material that smells musty or shows staining, then clean nearby hard surfaces with detergent and water.
Good mold prevention depends on fast moisture control, steady airflow, and prompt follow-up.
If you’re part of a shared building, tell neighbors or your property manager so everyone can watch for new leaks and keep the space healthy.
Frequently Asked Questions
How Do I Tell if Ceiling Insulation Needs Replacement?
You’ll know your ceiling insulation needs replacement if it’s wet, matted, moldy, or compressed. Check insulation types with moisture detection tools; if readings stay high after drying, you should replace it for safe, efficient performance.
When Should an Electrician Inspect Leak-Damaged Ceiling Wiring?
You should call an electrician immediately if leak water hits any ceiling wiring; for example, after a bathroom overflow, you’d need an electrical safety wiring assessment before reenergizing circuits, even if damage looks minor.
Can a Ceiling Leak Affect Attic Ventilation Systems?
Yes, a ceiling leak can affect your attic ventilation systems by adding attic moisture and creating ventilation impact. You’ll need to inspect soffits, vents, and insulation, then repair leaks fast to protect airflow and prevent mold.
What Insurance Documents Should I Collect After Ceiling Water Damage?
You should collect your policy, photos, repair estimates, receipts, plumber reports, and adjuster notes first; then the paper trail builds your insurance claim, proving water damage and helping you protect your home with confidence.
How Long Should I Wait Before Repainting Repaired Ceiling Areas?
Wait until you’ve confirmed full drying time, usually 24–72 hours after repairs, before repainting. Test for moisture, then use proper repainting techniques so you don’t trap water and compromise your ceiling’s finish.
Summary
By following these five steps, you’ll stop the source, limit spread, and restore your ceiling with precision. You’ll inspect for sagging, staining, and hidden moisture, then dry the area fast with fans and dehumidifiers. Next, you’ll remove and patch compromised drywall, sealing repairs cleanly. Finally, you’ll keep humidity low and surfaces clean to prevent mold. With this methodical approach, you’ll treat the damage like a master craftsman and protect your home from future leaks.
Recent Posts
Why Does Leak Water Damage Cause Mold?
Like a slow leak in a ship’s hull, water damage in your home keeps feeding
Ceiling Leak Water Damage Mold Repair Guide
You notice a ceiling stain the same day a drip starts, and that coincidence matters
Why Mold Remediation Matters After Flooding
When floodwater lingers, mold doesn’t wait. It can spread through wet drywall, saturated insulation, and